Sunday, November 10, 2013

Challenge Day 10 Hand Sewn Owl Needle Book

Today I had a hard time with the Internet
bu finally got it to work :) to be able to post
 
Here is my finished Owl Needle Book
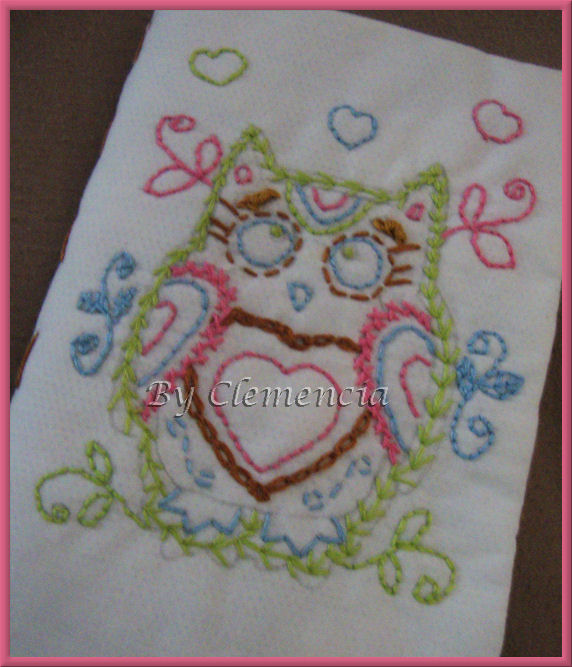
In case you are wondering the front is the Embroidered Owl
 
 
For this book I made the pages with felt
pink, blue and green
just like me Embroidered Owl

 
And I saw some pockets for the embroidery floss
with a blanket stitch 

 
And on another page
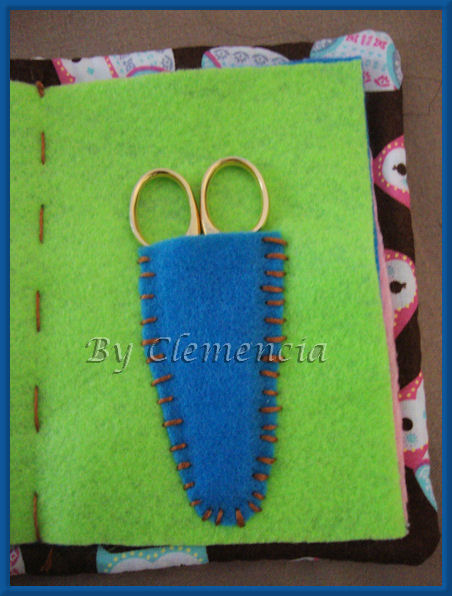
I did a pocket for my scissors
 
And as you can see just a plain running stitch
for the middle of the book
holding the felt pages in :)
 
I sewed (I hope that's right) everything by hand
even the brown owl fabric to my embroidered owl :)
 
Thank you so much for taking a look :)


Saturday, November 9, 2013

Embroidered Owl

Weekends are really hard for me to go online
but here I escaped for a minute to share
my finished my Embroidered Owl
 
 
Hope you like it :)


Friday, November 8, 2013

Challenge Day 8 DIY Ribbon Organizer

I've been organizing my Scrapbooking/Craft area
for quite a while on and off, just whenever I have a little time
 
So this is my creative moment of the day.
 
This picture right here shows you where I've been planning to put
all my ribbons,
never mind the mess I have there, I'll work on it little by little
right now I just wanted this ribbons up there :D
 
 
This is an old but very firm repurposed entertainment center
which I am using for all my scraps, crafts, knitting, painting, etc.
 
The edge was very rough looking
that's why I painted right there

 
Now for the creative part :)
I bought a dowell to put my ribbons on
but I didn't have a way to hold the dowell
and my husband had this very handy super big paper clips
and Wala!


There is my ribbon holder :)

 
Now that I think about it, I should go paint the dowell too lol
Not the prettiest but very thrifty and very handy too :)
 
thanks for visiting :)


Thursday, November 7, 2013

Challenge Day 7 mini pies

O.k. These did not come out like I thought they would
My daughter was feeling crafty
so we decided to make some mini pies
from an American Girl book that she has


we were supposed to use bottle caps, but we only had one
(the one in the middle)
and for the rest we used waterbottle caps :/
we used felt to make it look like the pie crust
and beads to make the inside of the pie
 
We worked with what we had here at home
so Yeah! is not the best, but pretty good for a 8 y. old :)
I think :)
 
She says the green one is key lime pie
the blue is blueberry pie
and the red one is cherry pie,
they are the perfect size for polly pocket dolls,
just in case a mom out there wonders
and Ah! we used white glue to hold it all together
so they don't come apart and make a big mess :)
 
Thanks for visiting :)


Wednesday, November 6, 2013

Challenge Day 6 Applique and Digital signature

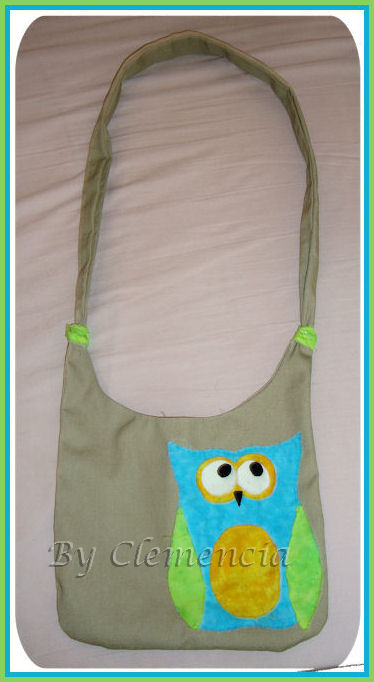
For my challenge today I have this super cute owl purse
that my teenage daughter made for me :)
She drew the owl herself
cut the pieces and glued to the purse
which she designed the pattern for also :)
 
 
So my work here was to saw by hand
around the edges of the owl
just in case whenever I have to wash the purse
my cute little owl doesn't come out :)
 
Isn't this adorable :)
 
And I also made my signature gift box
by following a PSP lesson through a yahoo group :)

 
Thanks for visiting :)

Tuesday, November 5, 2013

Challenge Day 5 Making T-shirt Yarn

I've been wanting to make T-shirt Yarn since
I saw this tutorial a while ago
I have it on my Pinterest here
 
But I took some pictures anyways of the step by step procedure
 
First you take a t-shirt
this is a child's one that is stained
(hard to see in the picture)
 

 Then you fold it half
with the opening away from you
 
 
Then I measured an inch
an marked with a pen

 
An start cutting the t-shirt
leaving about 1/2  on the top without cutting
(that's what gives you the continuity of the yarn)


I tried cutting all the way to where the sleeves are
and it just doesn't work well
so seems like you can only use the body part of the t-shirt


Once is all cut
take the bottom of the -shirt
(where you started cutting)
and cut a slit at an angle

 
Then open the t-shirt up
and cut following the strand
(where I am pointing with the scissors)
to make a continuous yarn

 
Once all cut
stretch the strand
to make it curl


Now all you have to do is roll it into a ball :)

 
I have to tell you
I am so happy that I took this challenge
I feel that I accomplished something in my day
that brings happiness to my being :)
 
Thanks for visiting
and for all the support I am getting
AND... your awesome comments
it keeps me going :)


Monday, November 4, 2013

Challenge Day 4 Making My Own Thread Bobbins

I while ago I saw a post about making thread bobbins out of a milk jug
 
For these ones, I used an old bobbin that I had
and made it longer to be able to fit the whole thread
 
 
I used a sharpie to outline them
that's why they look so sloppy like that
 
But I am not done, I am going to cut them better and clean them up
 
I got 20 bobbins out of 1 milk jug :)
For sure I am not going to see empty milk jugs the same way ever again lol
 
That's my Creativity at work for today so far :)


Inspirational Video about the power of words

This video was sent to me on an email, I love it and I just have to share. Little things that we don't think about and need to be grat...